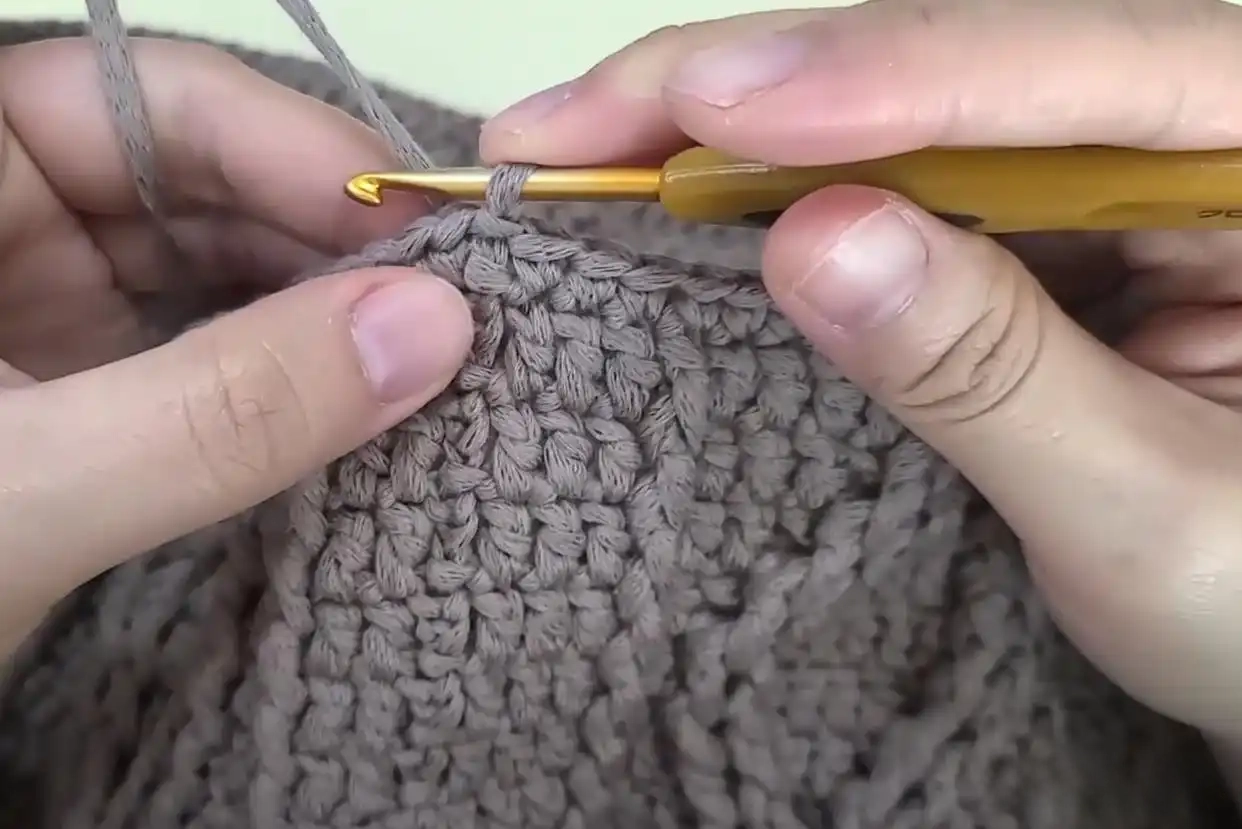
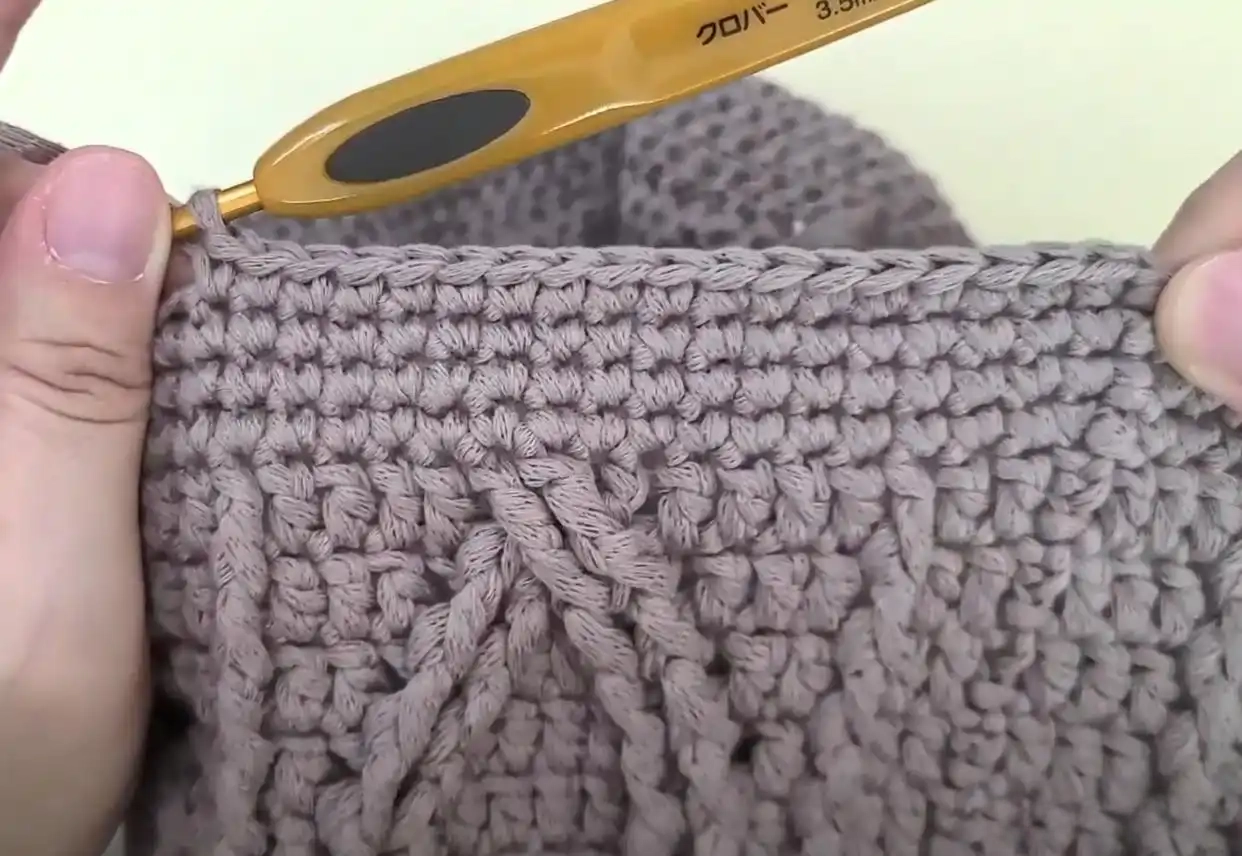
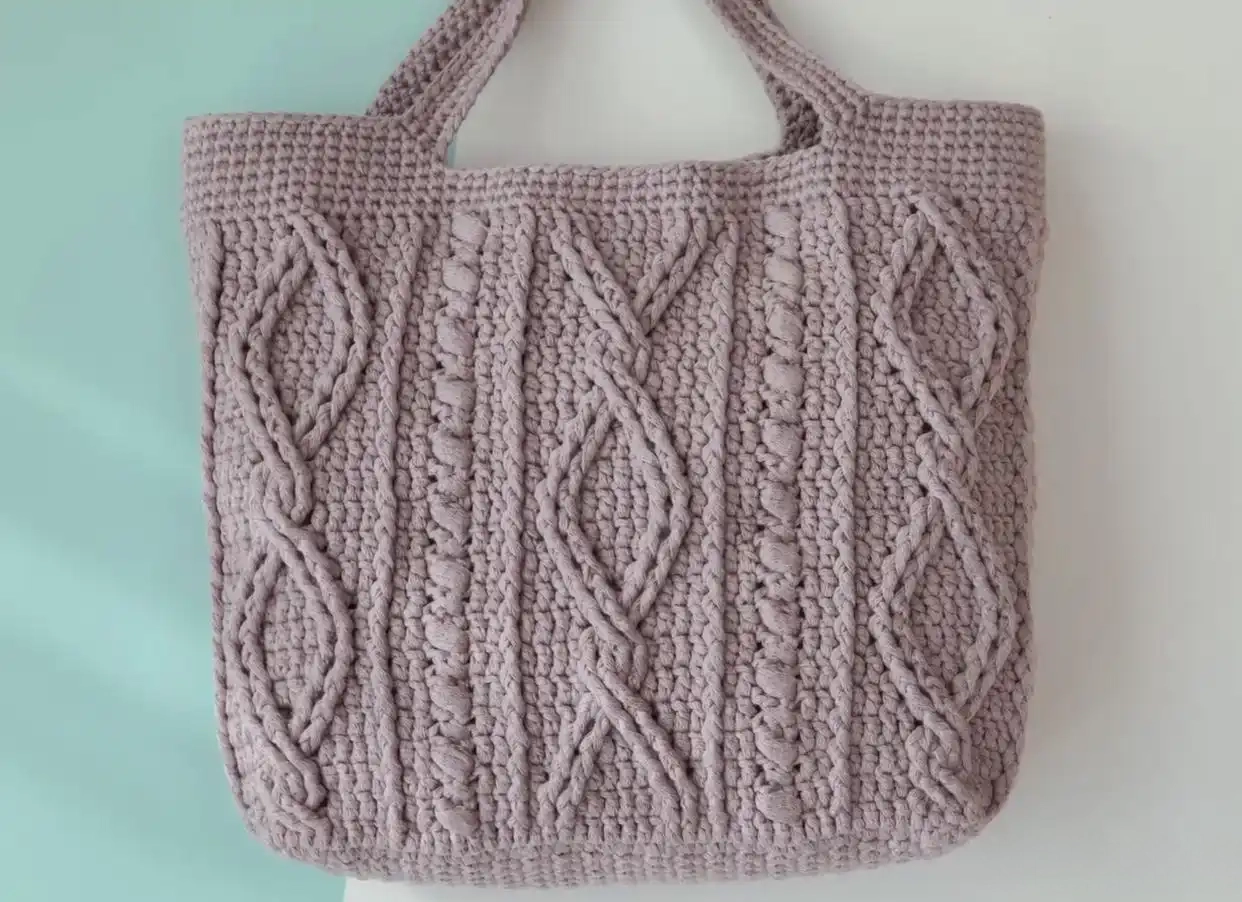
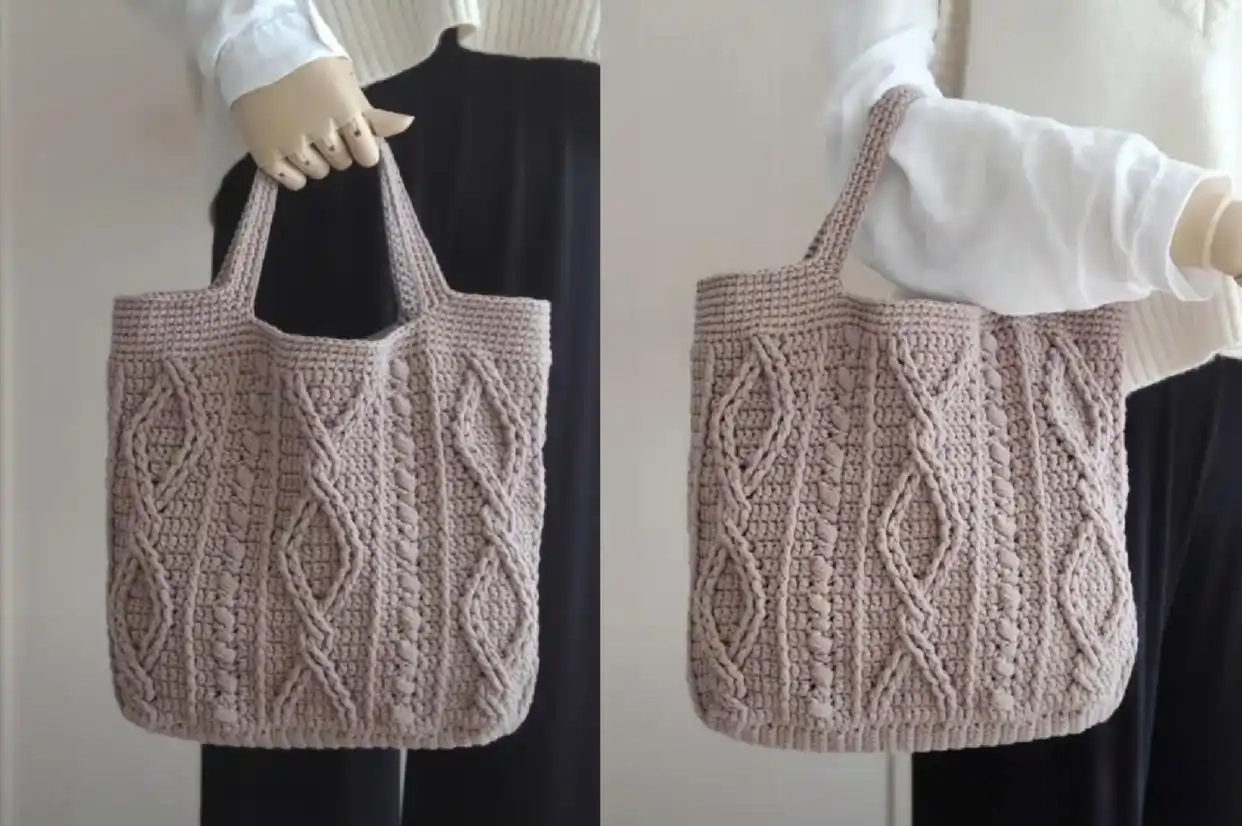
This jacquard hand-held bag tutorial uses a 3.5mm crochet hook and hollow cotton strap thread. Start with 16 stitches from the bottom of the bag. Through clear illustrations and stitch explanations, it will guide you step by step to crochet a bag with a high appearance level. Even beginners can easily get started!
Today's tutorial actually brings a beautiful crochet pattern into a bag, thus creating a bag with a high level of appearance. As long as you understand a few crochet techniques, the crochet of the entire bag is not difficult at all. Next, let's learn how to hook this embroidered hand-held bag. Demonstration thread: Hollow cotton strap thread, 3.5mm crochet hook. The demonstration bag is approximately 34 cm wide and 25 cm high.
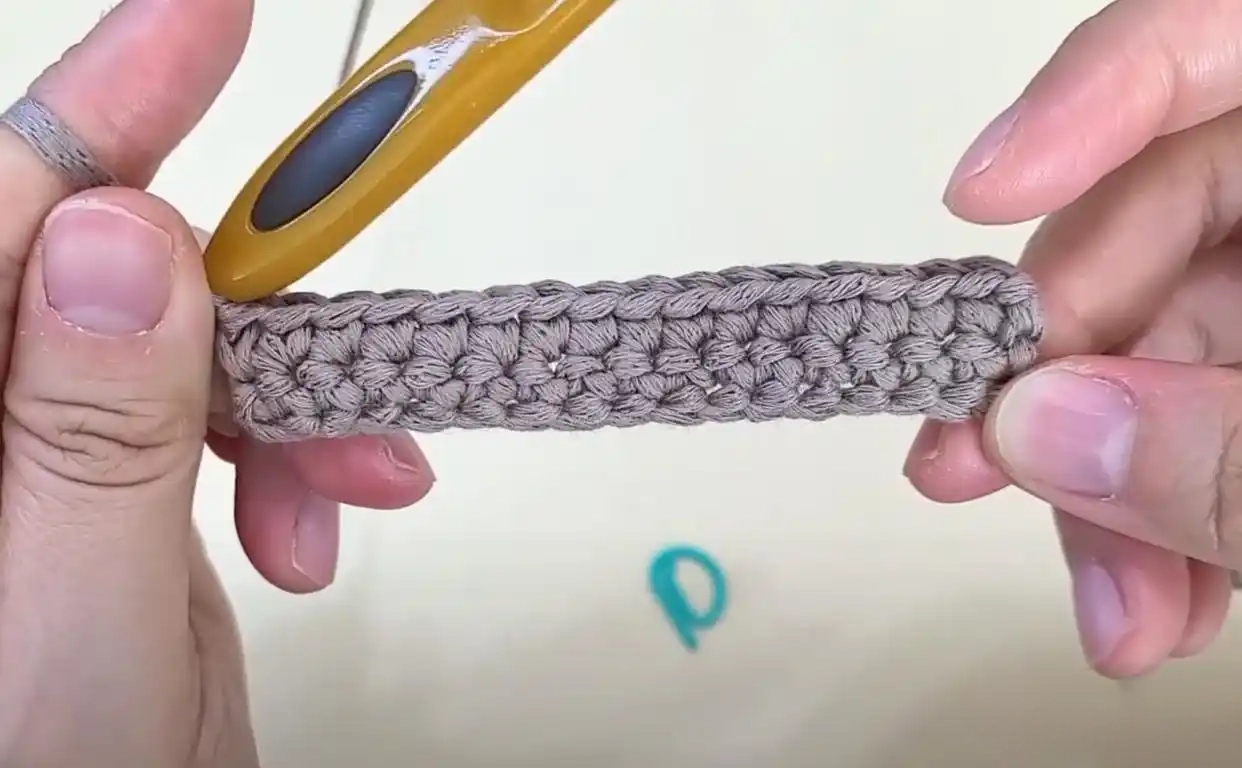
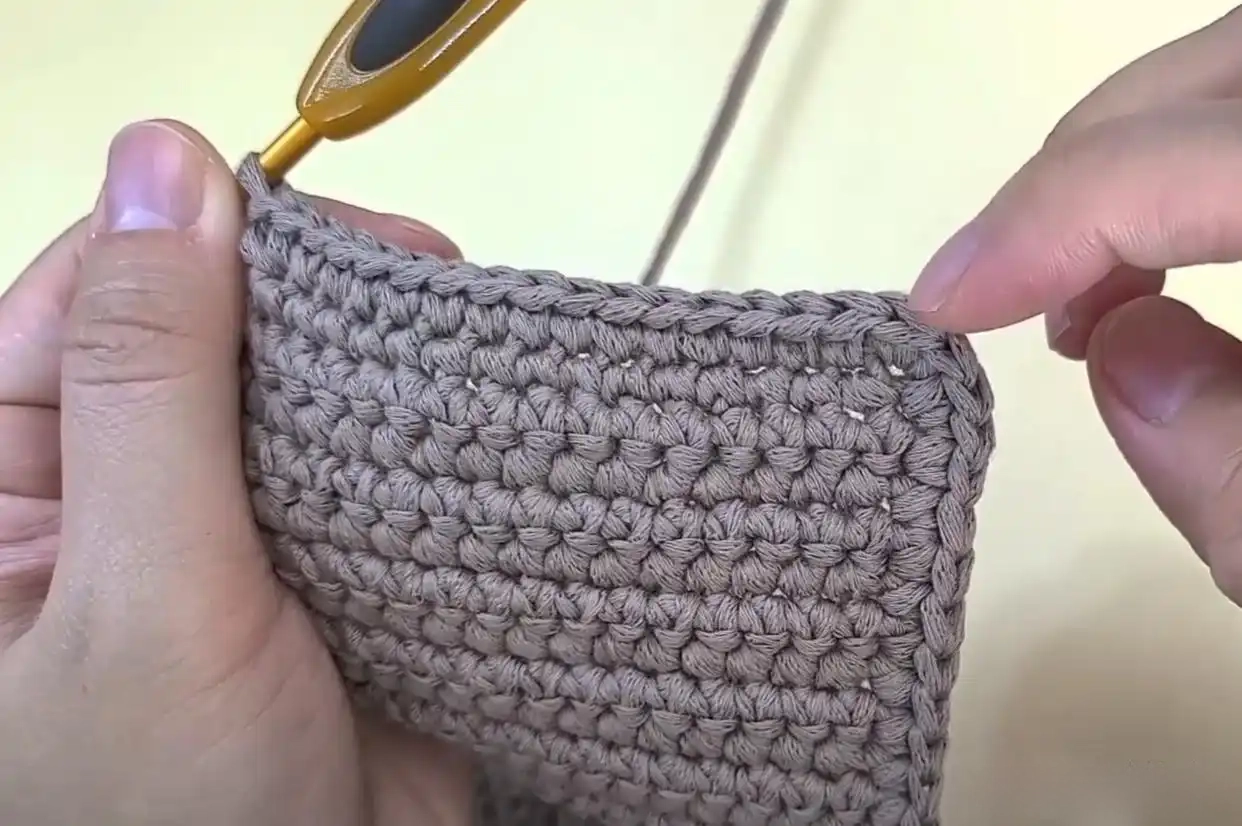
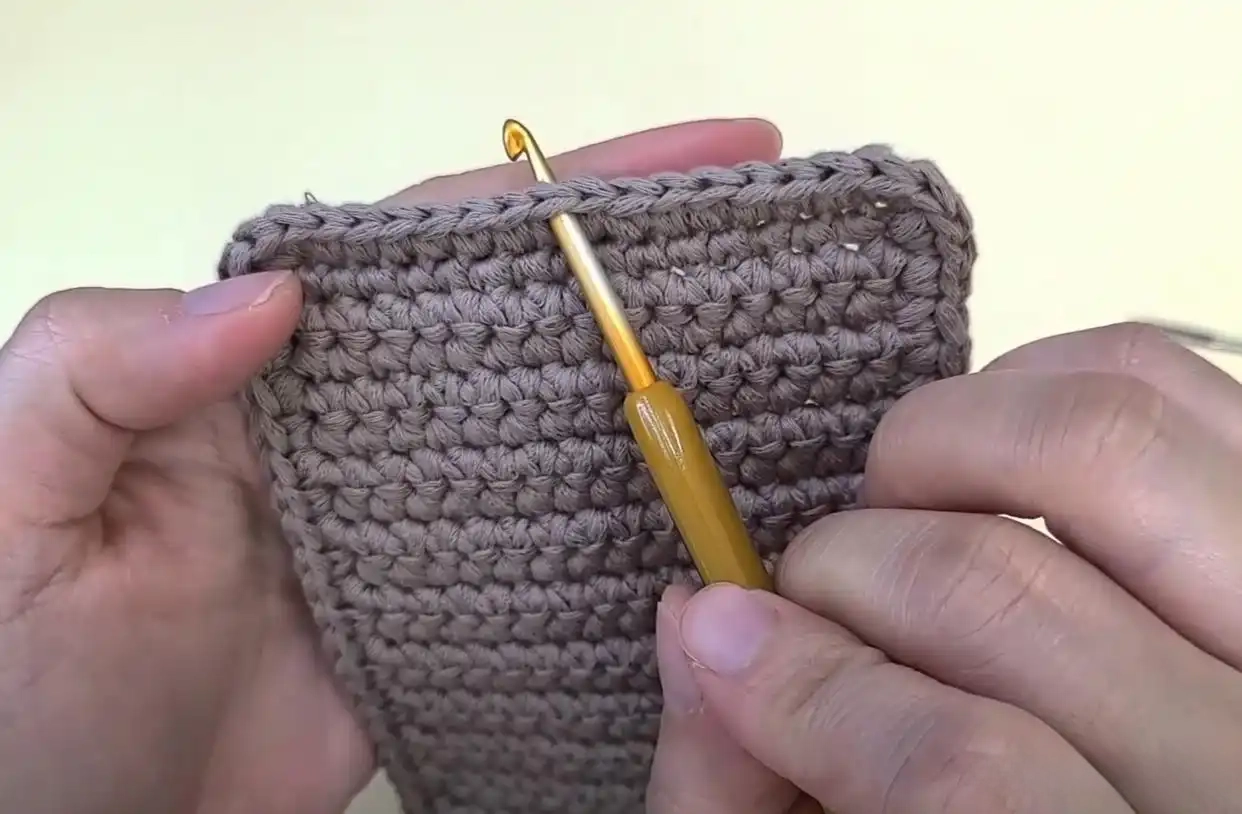
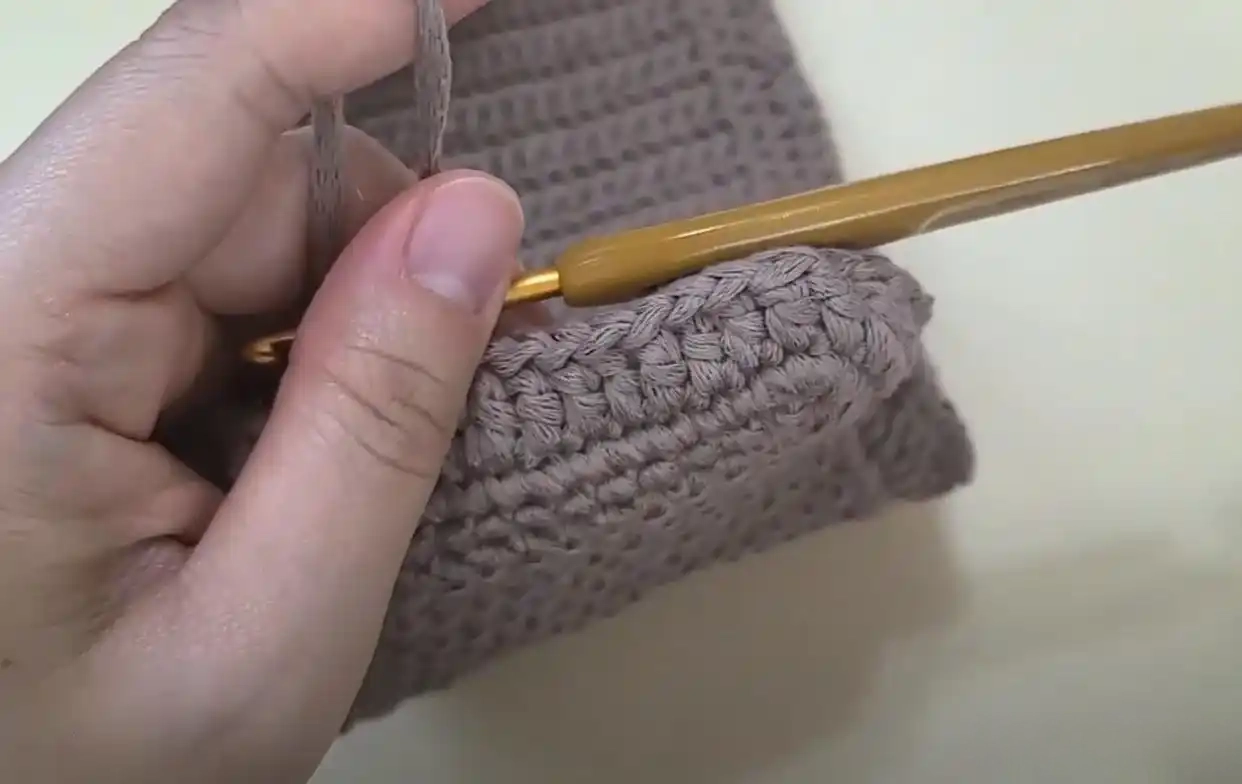
Let's start by hooking the bottom. Start with 16 lock pins. The first line: 16 short pins without adding or subtracting. Lines 2 to 43: Flip back and forth without adding or subtracting 16 hooks. Next, let's hook a circle around the edge. In the first row, hook 2 is shorter. Without adding or subtracting, hook 40 is shorter (hook 1 stitch in each row). In the last row, hook 2 is shorter (there are a total of 44 stitches on the side). For the first stitch on the short side, the upper hook is 2 short, with no addition or subtraction of 14 short. For the last stitch, the inner hook is 2 short. There are a total of 18 stitches in this row. Then hook the other side and the short side in the same way. There are a total of 124 stitches in one circle. Finally, the thread was broken, and the stitches were sutured and retracted.
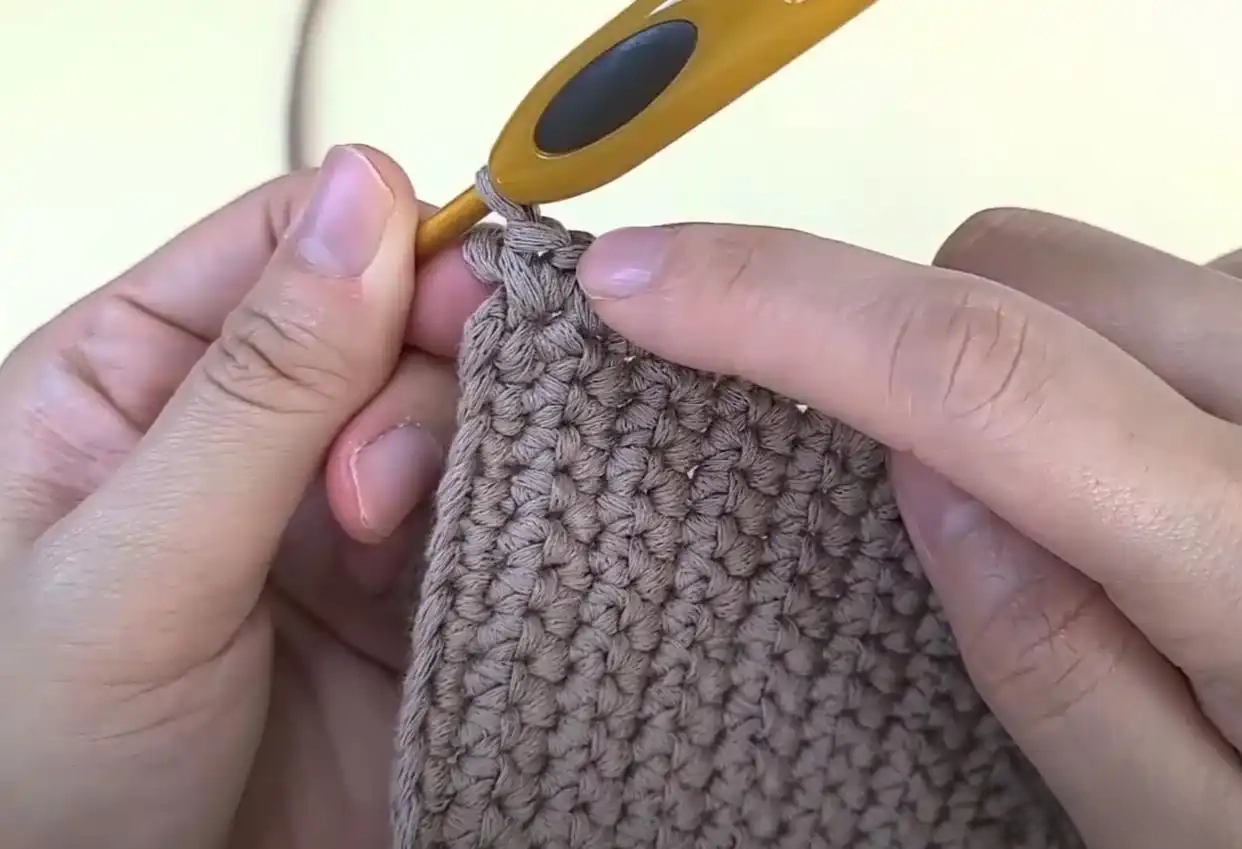
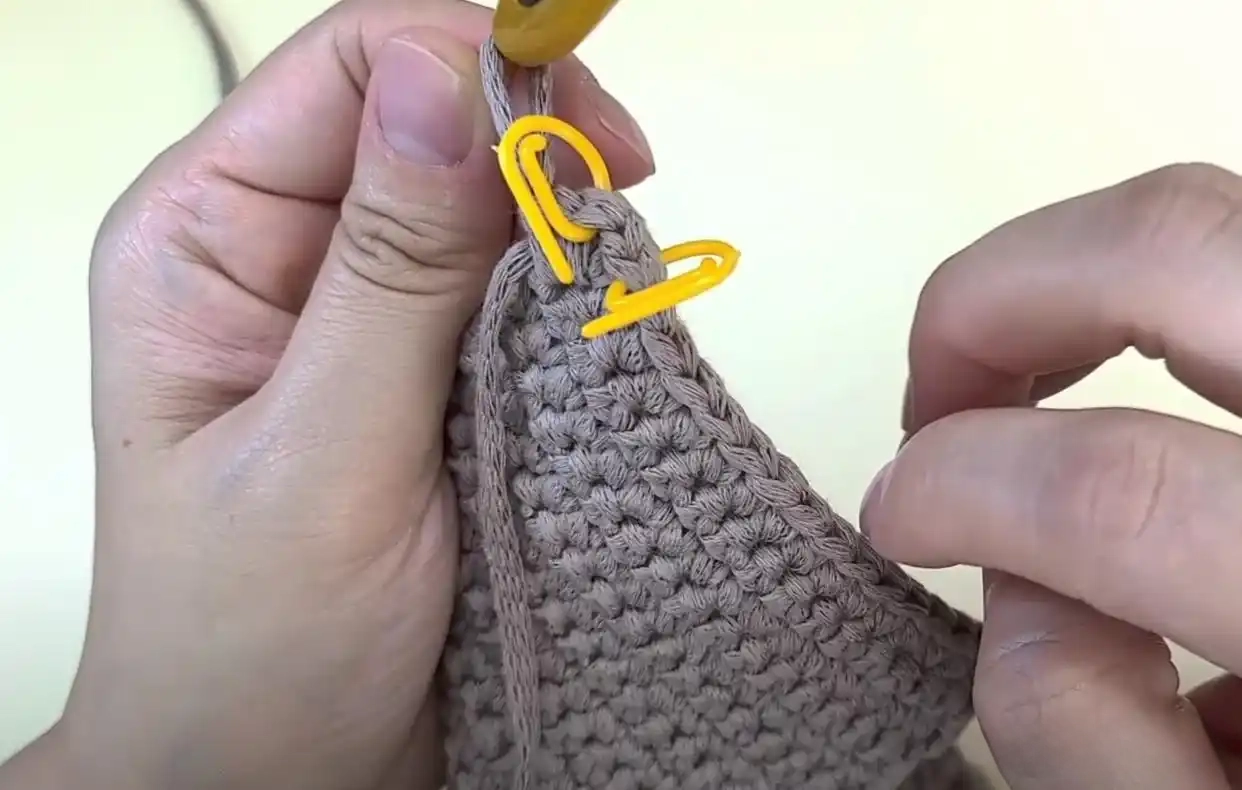
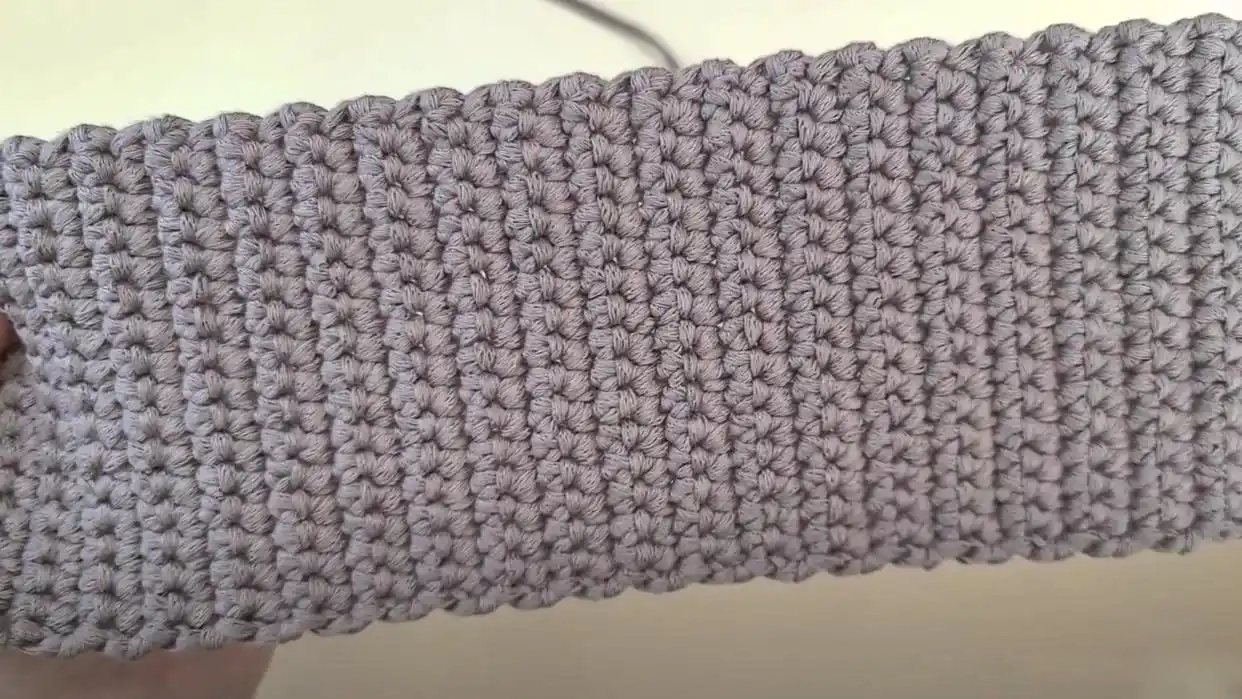
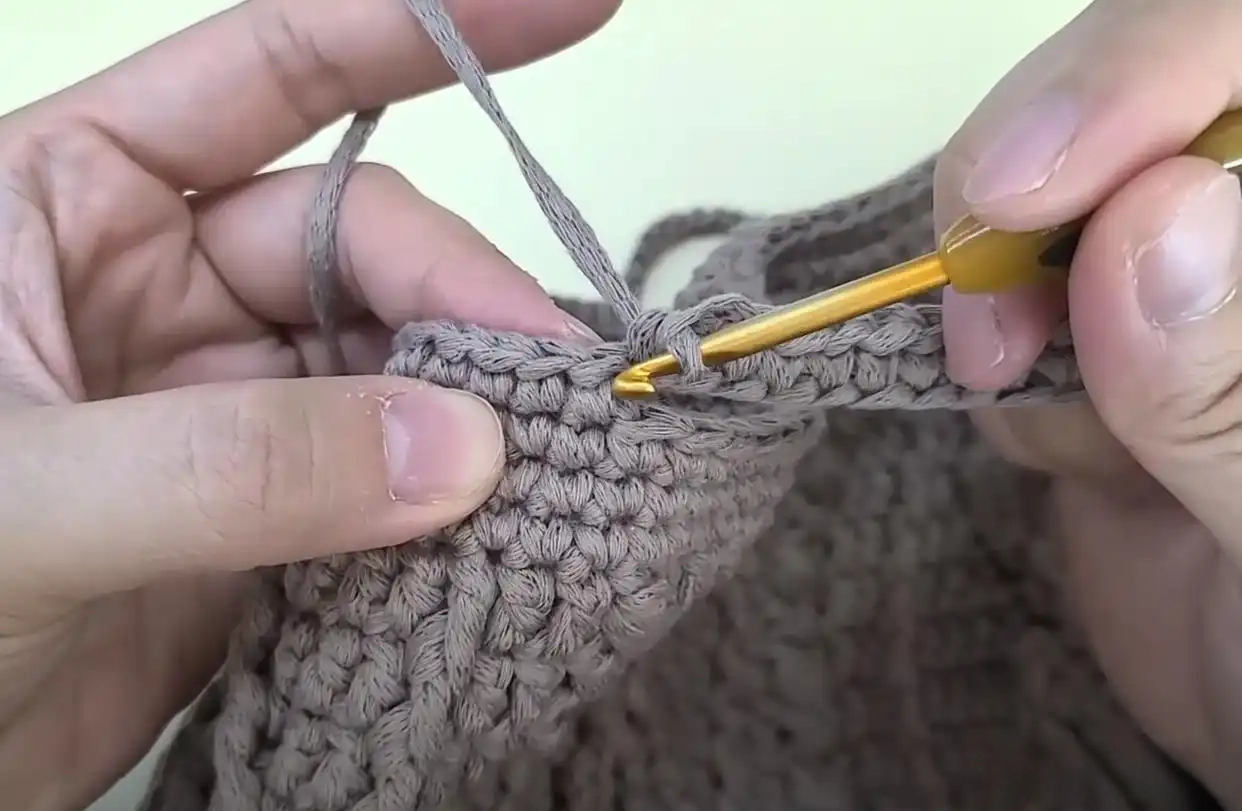
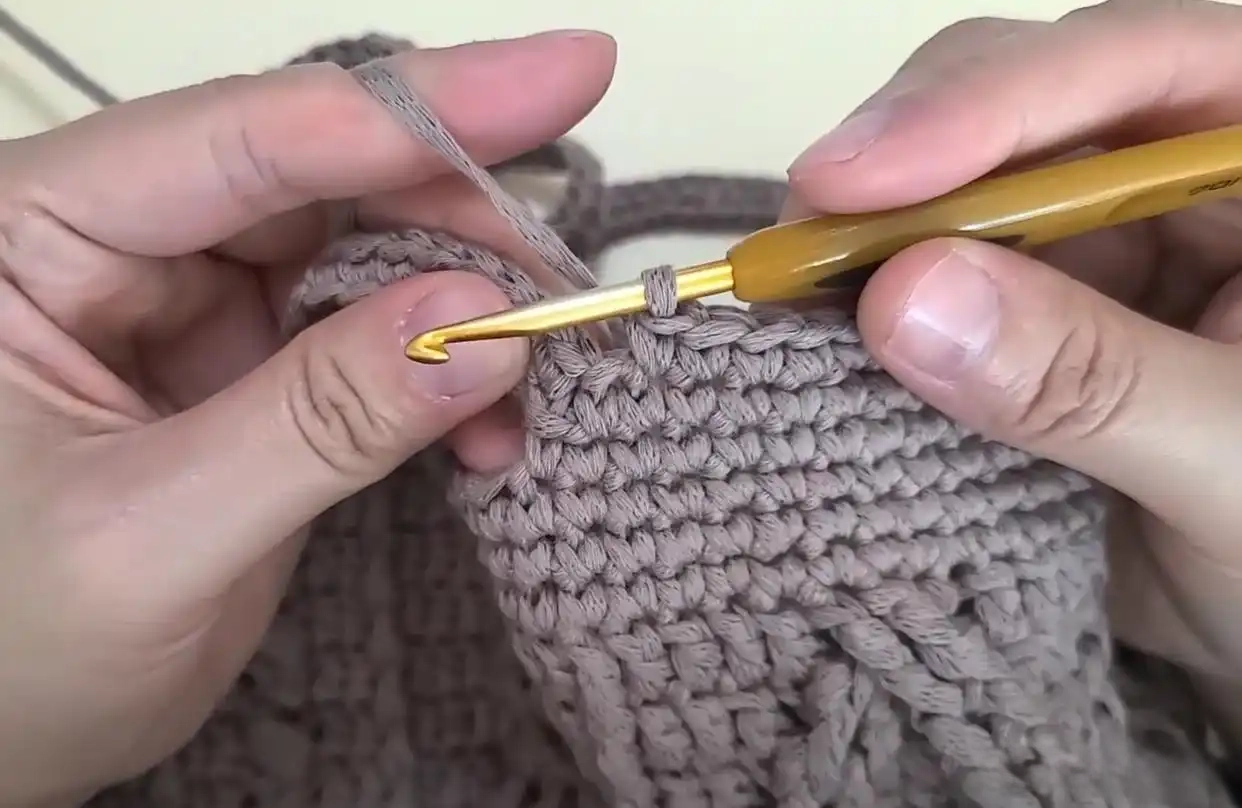
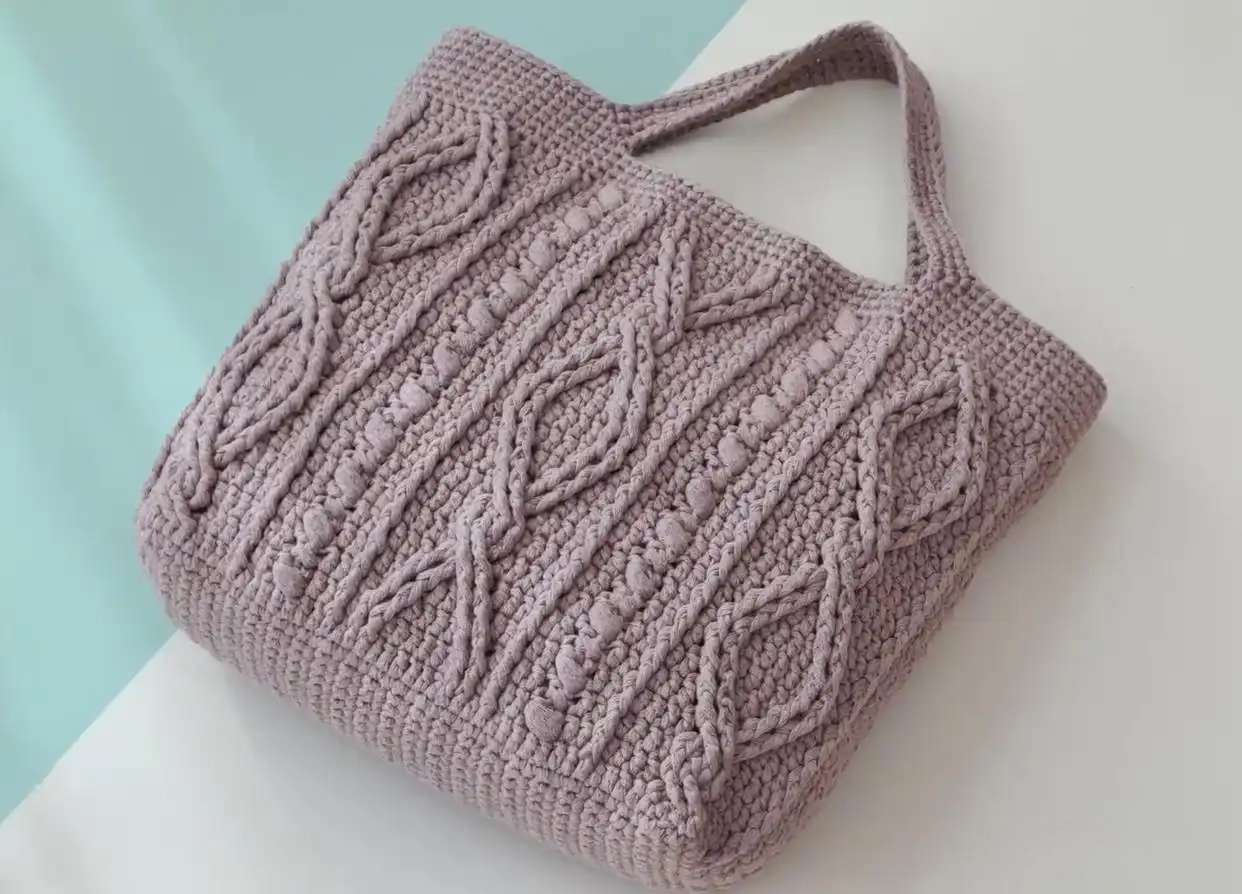
Next, hook the body part. Insert the needle from the 10th stitch on the short side. For the first circle: hook a circle of long needles (124 stitches) without adding or subtracting. Below, I attach the illustration and will explain some of the stitches in the illustration through a few rounds. The pattern diagram has a total of 62 stitches. There are two sides of the bag, with 62 stitches on each side. So, just follow the diagram to hook twice. Lap 2 (3 long, 1 outer hook long needle, 4 long, outer hook long needle, right upper 2 needles cross < first hook 1 long outer hook long needle on each of the 3rd and 4th needles, then return from the front to the 1st and 2nd needles and hook 1 long outer hook long needle each >, 4 long, 1 outer hook long needle, 2 long, right upper 1 jujube cross with 2 needles < first hook 1 long outer hook long needle on each of the 2nd and 3rd needles Then return from the front to the first needle and hook 1 jujube - hook the medium-long needle that has not been completed by 3 stitches. First, pull out the medium-long needle part at the front at one time, and then pull out the last 2 coils at one time > 2 long, 1 outer hook long needle, 1 long, 2 outer hook long needle, 6 long, 2 outer hook long needle, 1 long, 1 outer hook long needle, 2 long, 1 jujube cross with 2 long, 2 long, 1 outer hook long needle, 4 long, The two long needles on the upper right side of the outer hook are crossed, 4 long, 1 long outer hook needle, 3 long *2 times, and then pulled out.
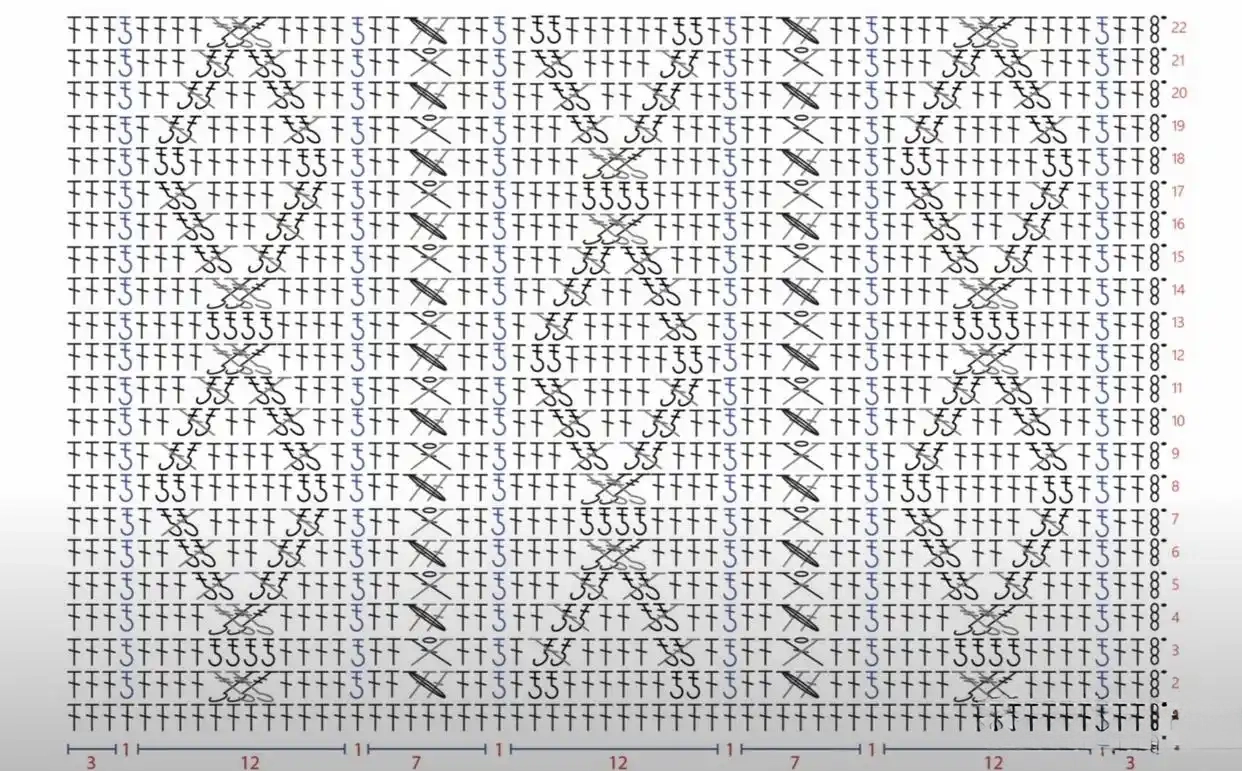
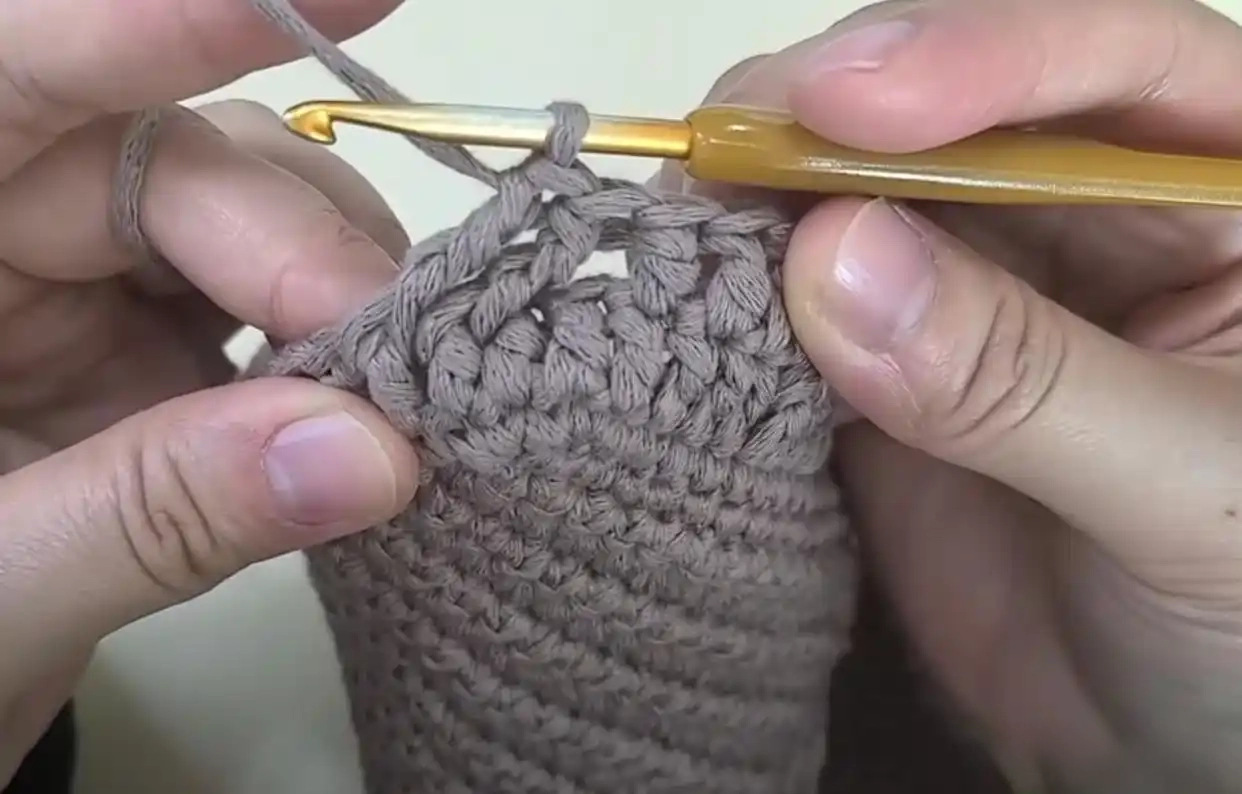
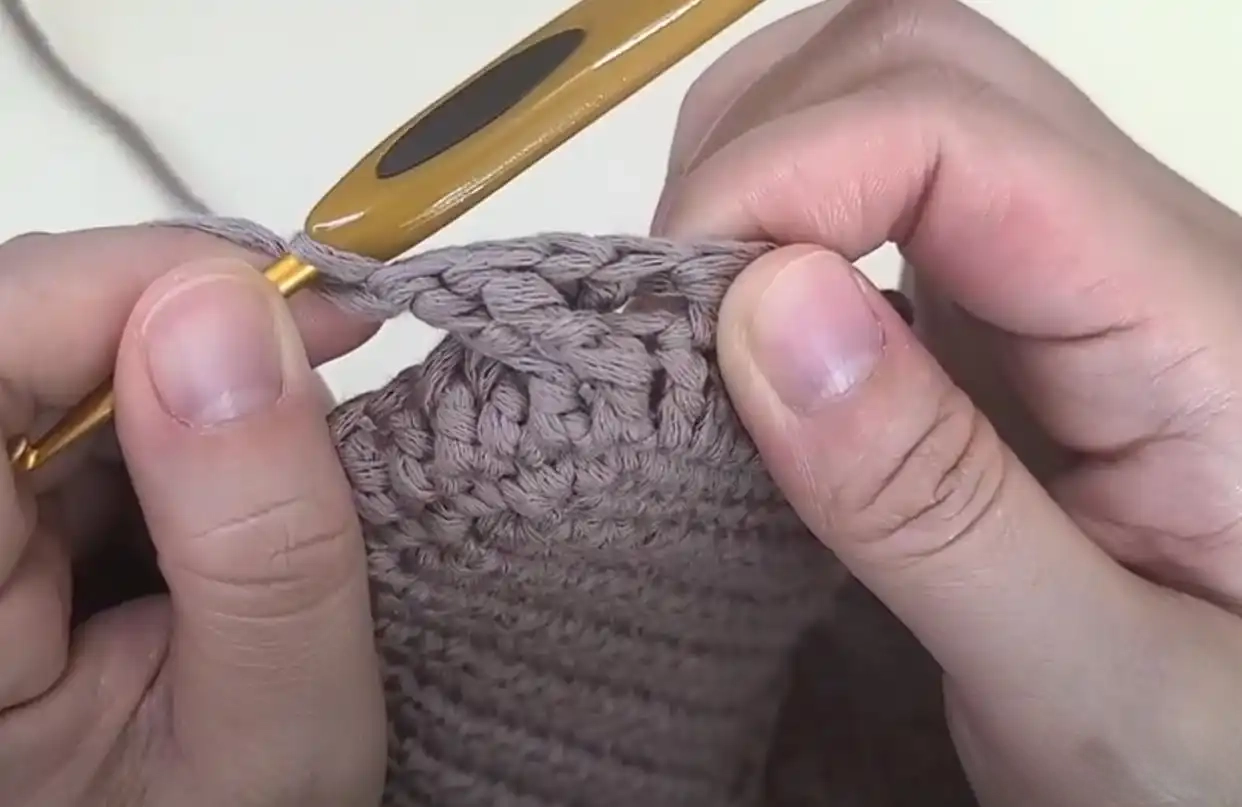
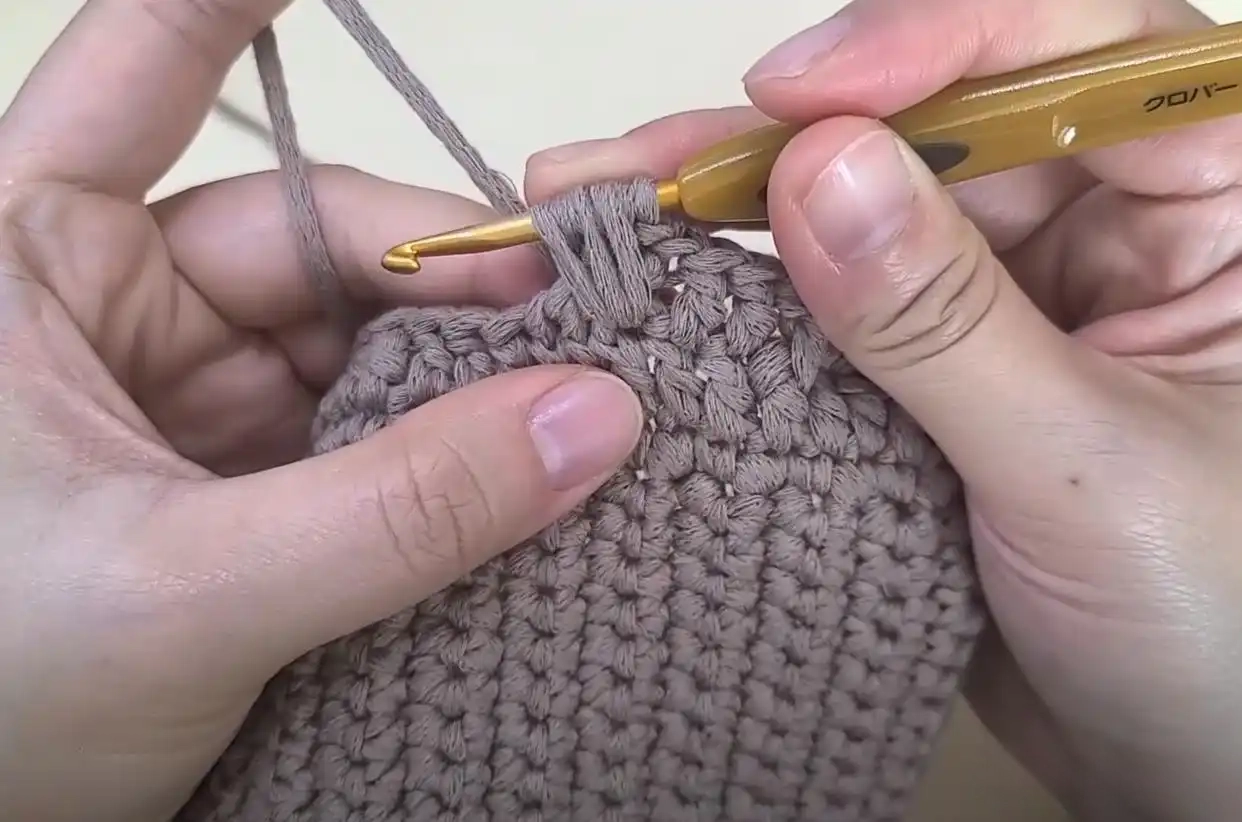
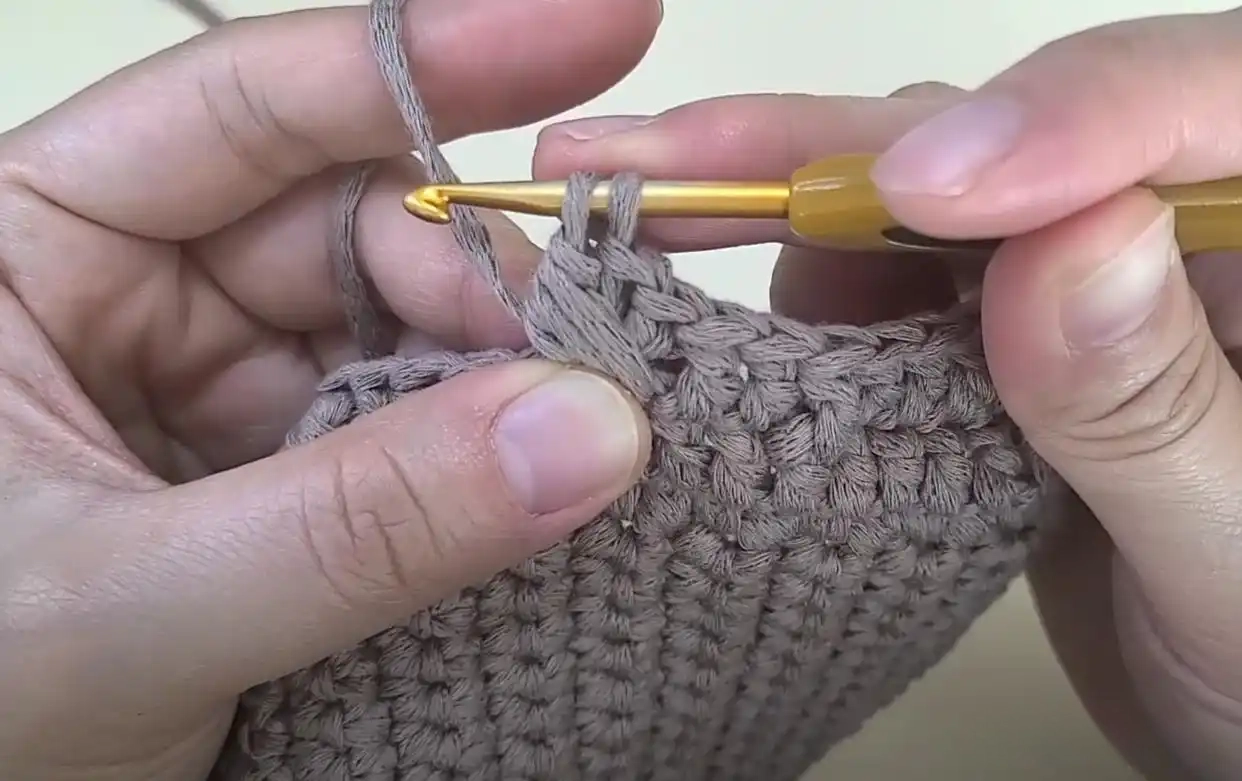
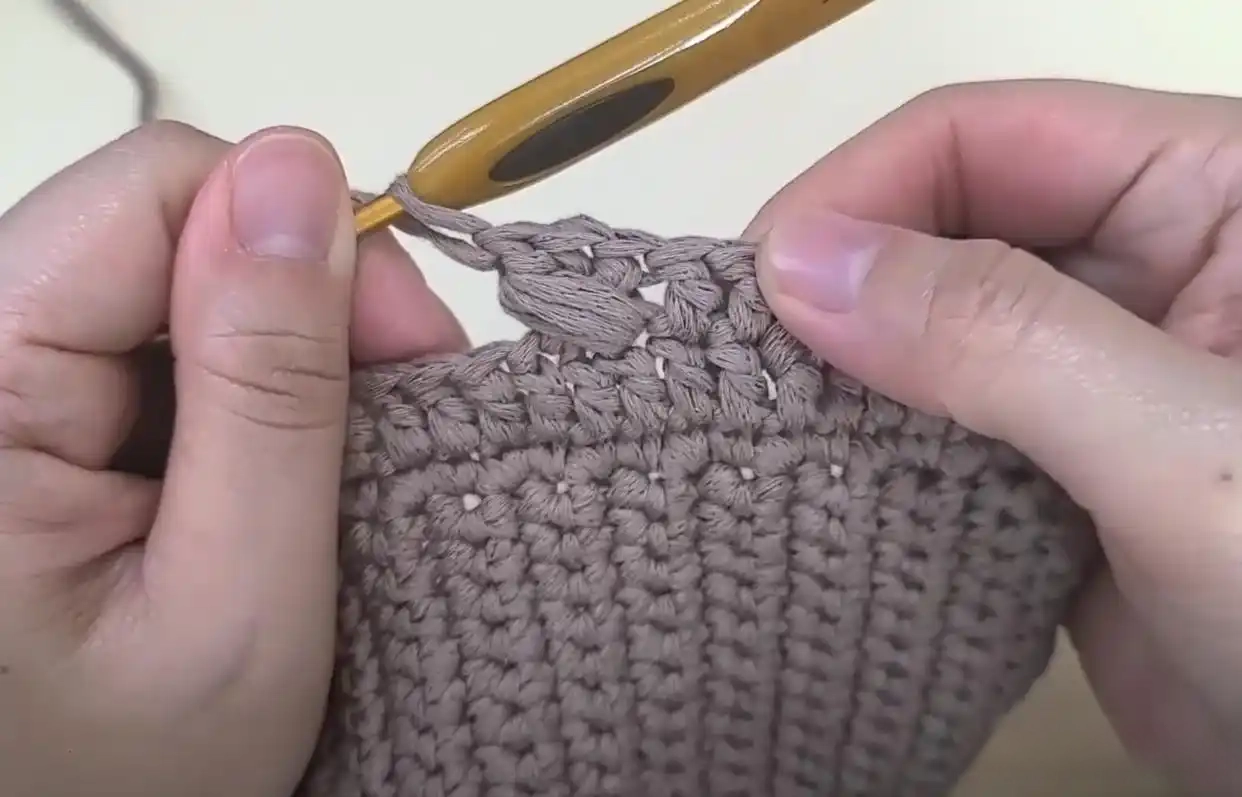
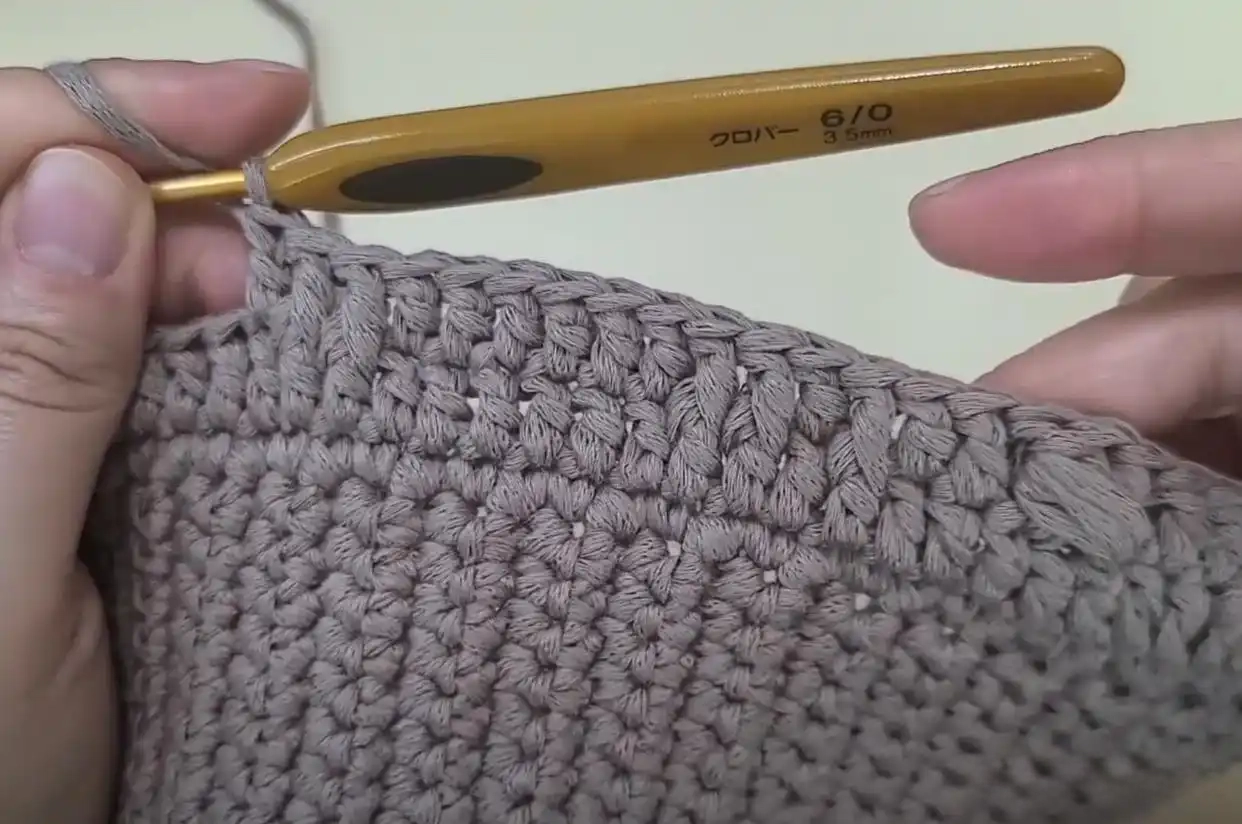
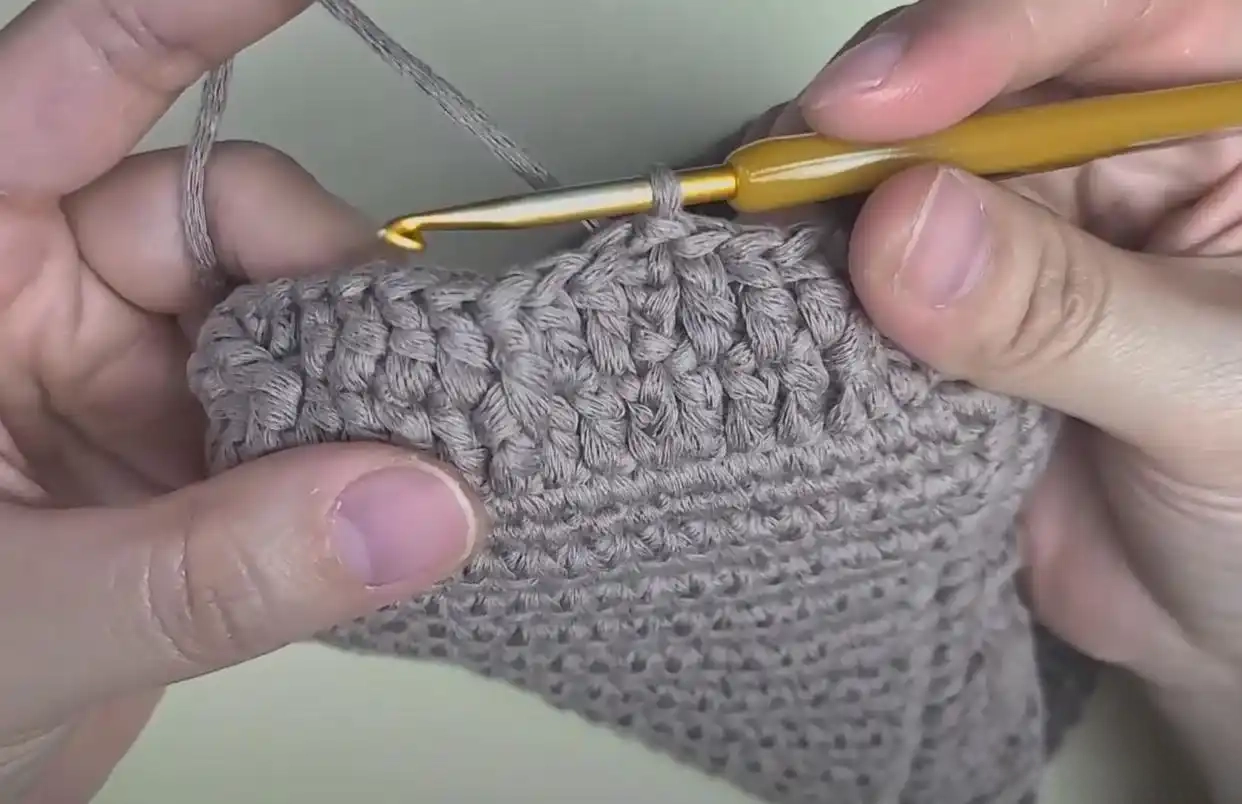
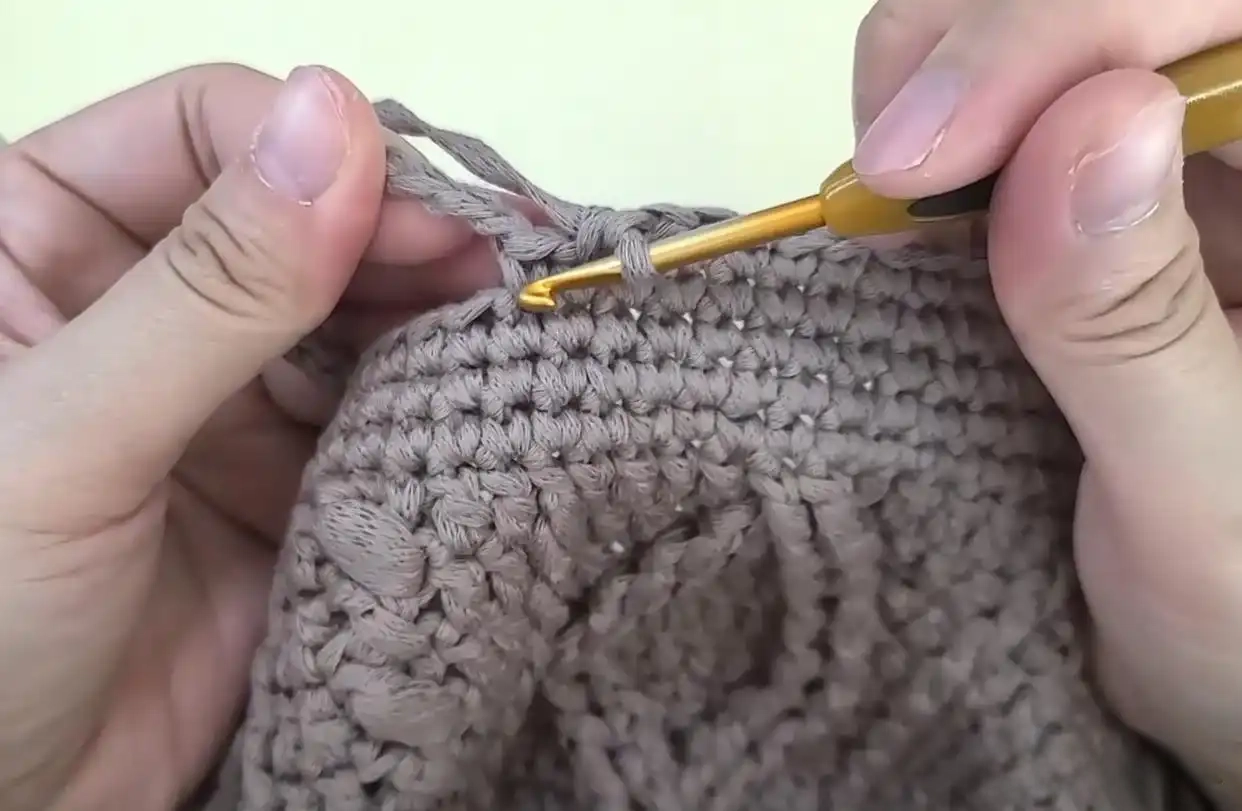
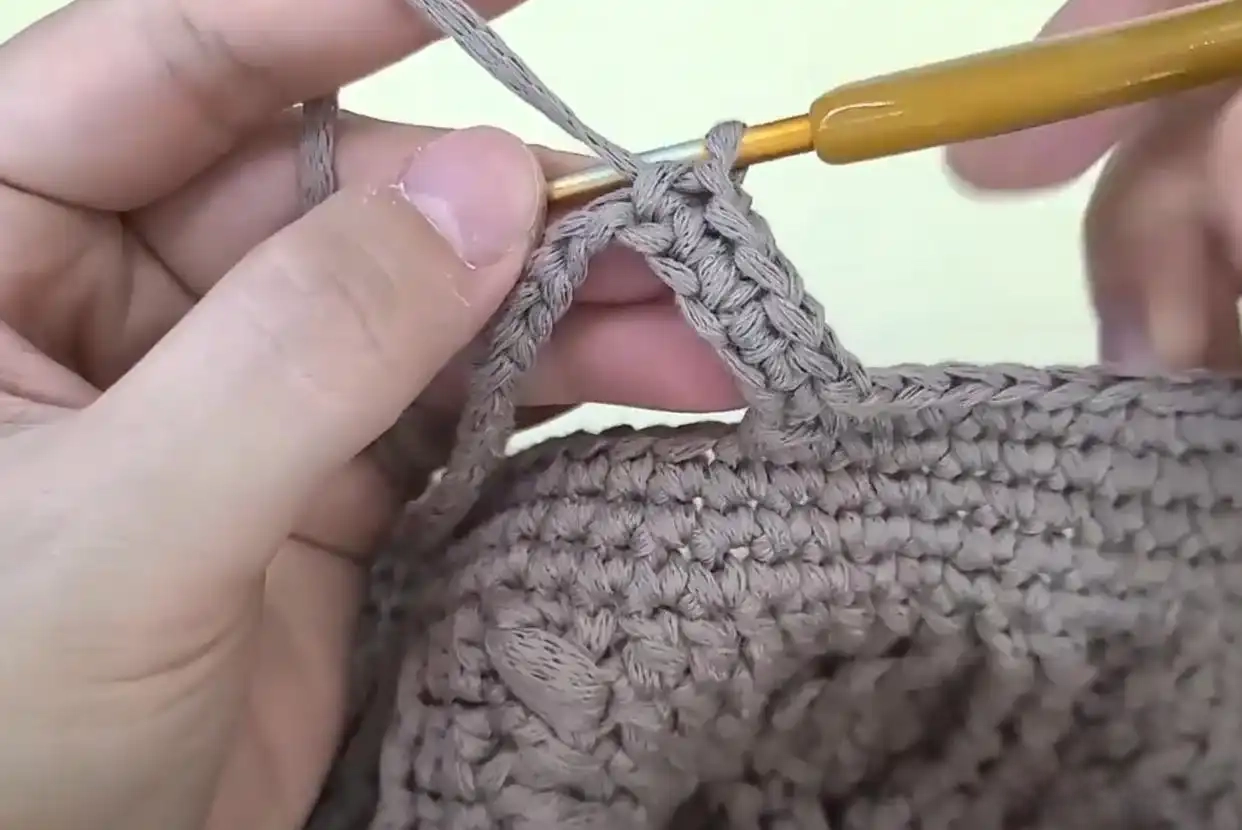
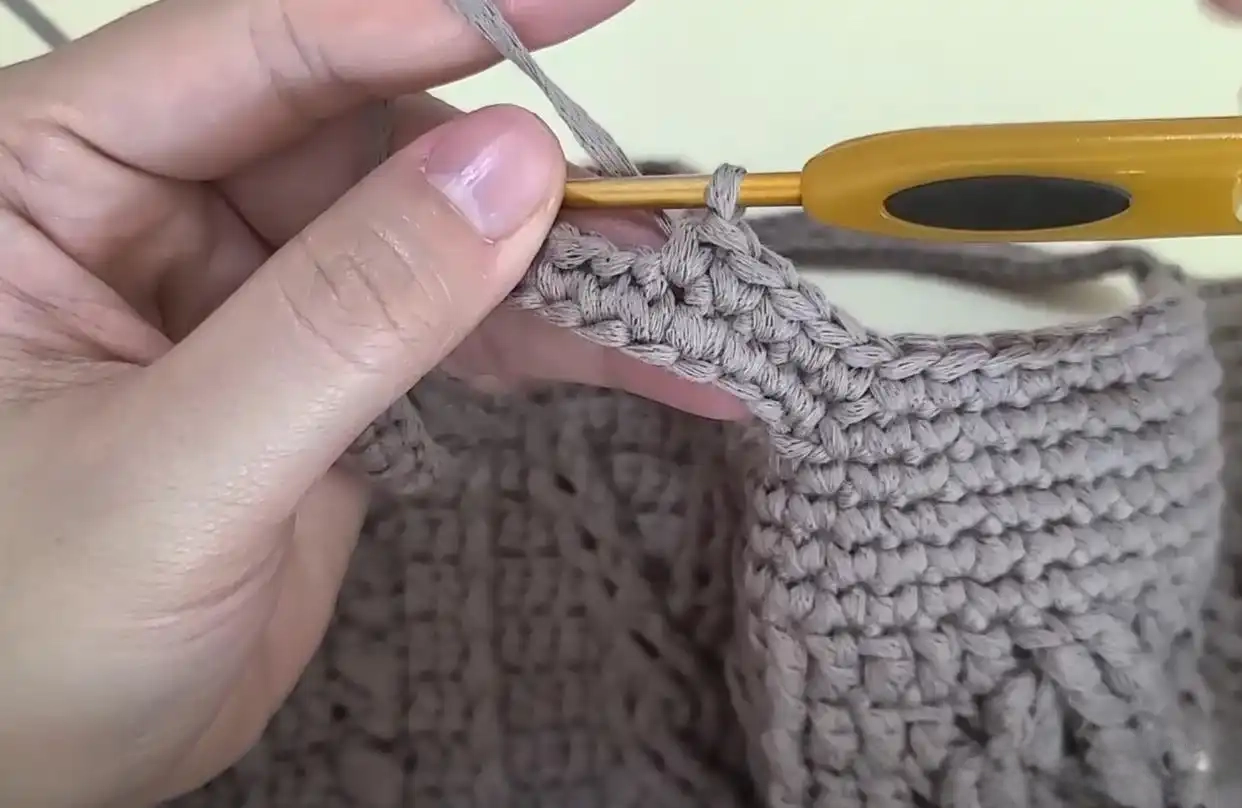
Follow the diagram and hook all the way to the 22nd circle. Circle 23: One circle of short needle without adding or subtracting the hook. Lap 24-25: The same as lap 23. Round 26:18 short, 45 lock pins, 26 intervals, 36 short, 45 lock pins, 26 intervals, 18 short; Round 27: Repeat (17 short < the last stitch is not hooked >, lock 45 and pick out 45 short, skip the next stitch < as shown in Figure 5>, then 17 short again) *2 times; Lap 28: Follow the same pattern as lap 27 (16 short, skip 1 stitch; 45 short, skip 1 stitch, 16 short) *2 times, break the thread, stitch and close the needle. Alright, this beautiful embroidered hand-held bag is done with just a suitcase!